
How to Remove Hair Extensions Safely Without Damaging Your Natural Hair
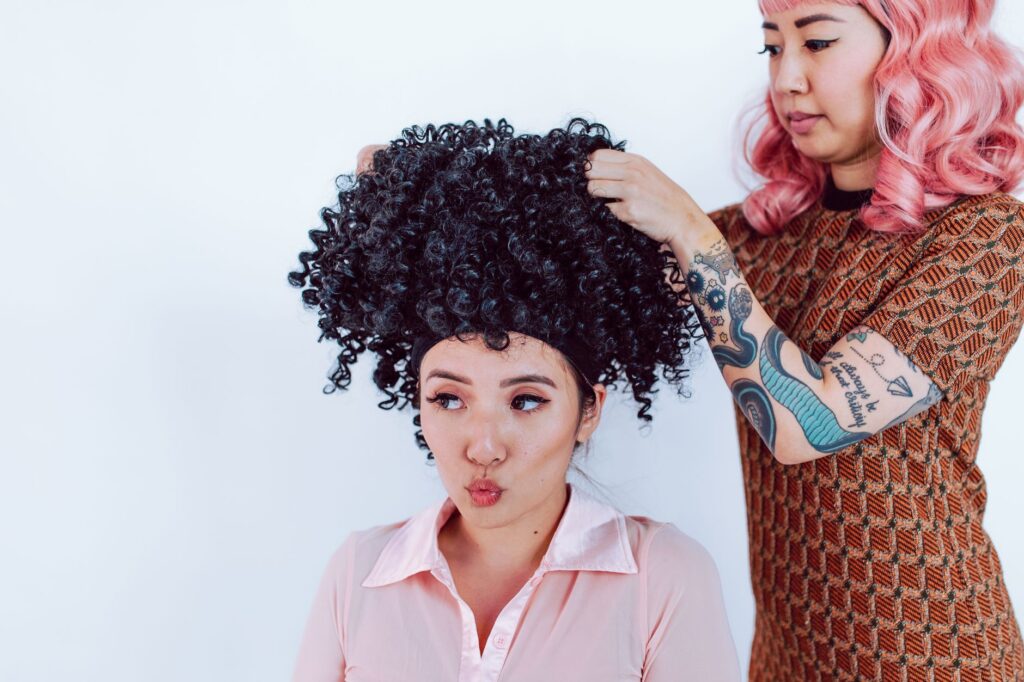
Every extension wearer eventually reaches the same point: it is time to take the extensions out. Whether you are due for a fresh install, switching methods, or simply ready for a break, knowing how to remove hair extensions safely matters just as much as how they were installed. Rushing the process or using the wrong technique can lead to unnecessary tension, breakage, or a messy application that is harder for a stylist to fix later. This guide walks through what to expect for the most common extension methods and when it makes sense to leave removal to a professional.
Why Removal Method Depends on Extension Type
Not all hair extensions come out the same way. Clip-ins are designed for daily removal and require no special products, while tape-ins, keratin-tip (K-tip), and I-tip extensions are bonded or fused to your natural hair and need a specific release process. Trying to force out a semi-permanent method the way you would a clip-in can stress your natural strands, so it helps to understand which category you are working with before you begin.
Removing Clip-In Extensions
Clip-ins are the simplest to remove since they are not attached to your hair at the root. To take them out, gently separate your hair into the section where the weft sits, unclip each piece starting from the top layer, and set the wefts aside. Avoid yanking on the clips if hair has tangled around them; instead, use a wide-tooth comb to loosen strands first. Once removed, store the wefts properly to keep them ready for next use.
Removing Tape-In Extensions
Tape-in extensions use a strong adhesive to sandwich small sections of your natural hair between two wefts. Removal typically involves applying a tape-release solution or an oil-based remover directly to the adhesive, letting it sit for several minutes to break down the bond, and then gently sliding the wefts off. Pulling tape-ins apart without a release product can strip natural hair or leave sticky residue behind. Because the adhesive is designed to hold securely, many people find it easier and safer to have this done at a salon.
Removing Keratin-Tip and I-Tip Extensions
K-tip extensions are fused using a heated keratin bond, while I-tip extensions rely on small metal links called micro-rings. K-tip removal generally requires a specialized tool that clamps and softens the keratin bond so it can slide off the hair strand. I-tip removal involves opening the micro-ring with a plier-style tool so the extension can be slid out. Both methods involve direct contact with your natural hair at the root, so precision matters. Attempting this without the right tools can cause the bond to break unevenly or pull on your hair rather than releasing cleanly.
Signs You Should Book a Professional Removal Appointment
While some methods can be handled carefully at home with the right products, certain situations call for a stylist’s help:
- You have tape-in, K-tip, or I-tip extensions and have never removed this method before
- You notice significant tangling, matting, or shedding near the bonds
- The extensions feel unusually tight, itchy, or uncomfortable at the root
- You plan to reinstall new extensions right after removal and want a clean transition
- You are unsure which method you currently have installed
A stylist has the tools and experience to remove extensions evenly across the whole head, which reduces the risk of leaving behind adhesive, bond fragments, or tangled sections. If you are due for maintenance anyway, it is often practical to schedule removal alongside a move-up or reinstallation appointment.
Aftercare Once Extensions Are Out
Once your extensions are removed, your natural hair may need a little extra attention. Wash with a gentle, sulfate-free shampoo to clear away any leftover adhesive or product residue, and follow with a hydrating conditioner focused on the mid-lengths and ends. A deep conditioning treatment in the days following removal can help hair feel soft and manageable again, especially if it spent several weeks under wefts or bonds. Brush gently with a wide-tooth comb or a brush designed for detangling, starting at the ends and working upward.
It is normal to notice some shedding when extensions come out, since strands that would have naturally fallen out during the wear period are released all at once. This is a normal part of the hair growth cycle and not a sign that the extensions caused hair loss. If you have ongoing concerns about hair thinning or scalp health, a licensed stylist or dermatologist can offer guidance specific to your situation.
Getting Ready for Your Next Set
Many people remove extensions simply to prepare for a fresh install, whether that means a new length, a different method, or an updated color match. If you are planning your next set, browsing the Locks n Lure Hair shop is a good starting point to see current textures, lengths, and colors available. A consultation with your stylist before your appointment can also help determine whether the same method makes sense again or if a different technique might suit your hair better this time around.
Final Thoughts
Knowing how to remove hair extensions safely protects both your investment and your natural hair. Clip-ins are straightforward enough to manage at home, but tape-in, keratin-tip, and I-tip methods involve bonds that are best handled with the right tools and, in many cases, a professional’s hands. Taking the time to remove extensions correctly, followed by a bit of extra hair care afterward, sets you up for a smoother experience whenever you decide to wear extensions again. If you have questions about removal or your next set, the team at Locks n Lure Hair is available through the contact page to help point you in the right direction.

