
How to Prepare for Your Hair Extension Installation Appointment
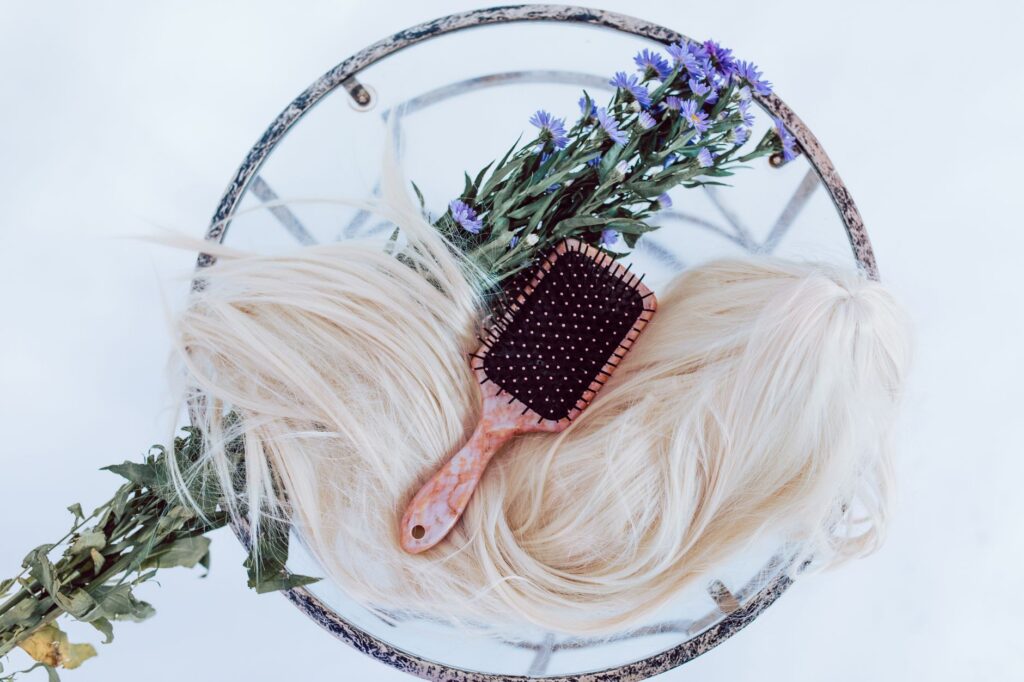
Walking into a hair extension installation appointment feeling prepared can make the entire experience smoother, more comfortable, and more likely to give you the result you’re picturing. Whether you’re getting tape-ins, wefts, I-tips, or K-tips, a little planning ahead helps your stylist work efficiently and helps you avoid surprises on installation day. Here’s what to know before you sit in the chair.
Book a Consultation First
If your salon offers a consultation before the actual installation, take advantage of it. This is the time to discuss your hair goals, whether that’s added length, extra volume, or both. Your stylist will look at your natural hair density, texture, and growth pattern to recommend a method, and they’ll talk through color matching so your extensions blend naturally with your own hair.
A consultation is also the right time to ask about how many wefts or strands you’ll need, how long the appointment will take, and what kind of maintenance schedule to expect afterward. If your salon combines the consultation with the installation appointment, try to arrive a few minutes early so you still have time for this conversation.
Prepare Your Natural Hair
Most stylists recommend washing your hair within a day or two of your appointment, using a clarifying or residue-free shampoo if your stylist suggests one. This removes product buildup, oils, and residue that could interfere with tape adhesive or bonding methods like K-tips. Avoid applying heavy conditioners, oils, or styling products on the day of your appointment, since these can leave a film on the hair shaft.
It’s also worth having your hair trimmed a week or two beforehand if you’re due for one. Freshly trimmed ends give your stylist a cleaner canvas to blend extensions into, especially for methods like wefts or I-tips that rely on seamless integration with your natural hair.
Know What to Expect from Your Chosen Method
Installation time and process vary significantly depending on the method:
- Tape-in extensions are typically the fastest to install, often taking under an hour, since wefts are sandwiched around small sections of natural hair.
- Weft extensions, including hand-tied and machine-made styles, may take longer since they often involve braiding or sewing wefts into a track.
- I-tip extensions are attached strand by strand using a small copper link, which means installation time depends on how much volume you’re adding.
- K-tip extensions use a keratin bond that’s fused to natural hair with heat, so the process is typically more involved and requires a stylist experienced in this technique.
If you’re unsure which method fits your hair type, lifestyle, or maintenance preferences, a stylist consultation can help you compare options before you commit. You can also browse the extension options available to get a sense of textures, lengths, and colors ahead of your appointment.
Bring Reference Photos and Ask Questions
Photos help bridge the gap between what you’re imagining and what’s realistic for your hair. Bring a few images that show the length, volume, and color tone you like. Keep in mind that your natural hair’s density and condition will influence what’s achievable, so be open to your stylist’s professional recommendations.
Questions worth asking before installation day include how long the extensions are expected to last with proper care, how often you’ll need move-up or maintenance appointments, and what aftercare products are recommended. Understanding this upfront helps you plan for the ongoing care that keeps extensions looking their best.
Plan Your Schedule Around the Appointment
Installation appointments can take anywhere from under an hour to several hours, depending on the method and the amount of hair being added. Block out enough time so you’re not rushing, and consider that some methods, like hand-tied wefts or a full head of I-tips, may require a follow-up visit or a second session.
If you have young children, work commitments, or other time constraints, communicate this with your stylist in advance so they can either adjust the appointment length or recommend a method that fits your schedule better.
Think About Aftercare Before You Leave
Before your appointment ends, ask your stylist to walk you through the basics of washing, brushing, and sleeping with your new extensions. Every method has slightly different care needs, and getting this information while your stylist is still in front of you is more useful than trying to remember it later.
It also helps to ask about recommended brushes, sulfate-free shampoos, and any specific do’s and don’ts for your extension type. If you’re unsure where to find suitable aftercare products, your stylist or the Locks n Lure Hair shop can point you toward options designed to work well with extensions.
Final Thoughts
Preparing for a hair extension installation doesn’t have to be complicated, but a little groundwork goes a long way. Washing your hair properly, scheduling a consultation, bringing reference photos, and asking the right questions all help set you up for a comfortable appointment and a result you’ll be happy with. Since every head of hair is different, your stylist’s guidance on method, volume, and aftercare should always take priority over generic advice. If you have questions about choosing the right extensions for your hair type or lifestyle, reach out through the Locks n Lure Hair contact page for personalized direction before your next appointment.

